PAGE HEADER.....
18
CARE & CLEANING
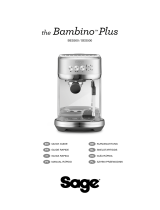
CLEAN ME!
The machine will detect when 200 extractions have
been carried out since the last clean cycle.
The CLEAN ME! icon will be displayed
on the LCD screen the next time the machine
enters START UP mode.
CLEANING CYCLE
• CLEAN ME! will be displayed on
LCD to indicate when a cleaning cycle
is required (approx. 200 shots).
• Insert the supplied cleaning disc, followed by
1 cleaning tablet into the 1 CUP lter basket.
• Insert the portalter and lock into
group head.
• Ensure the water tank is lled with
cold tap water.
• Ensure the drip tray is empty & inserted.
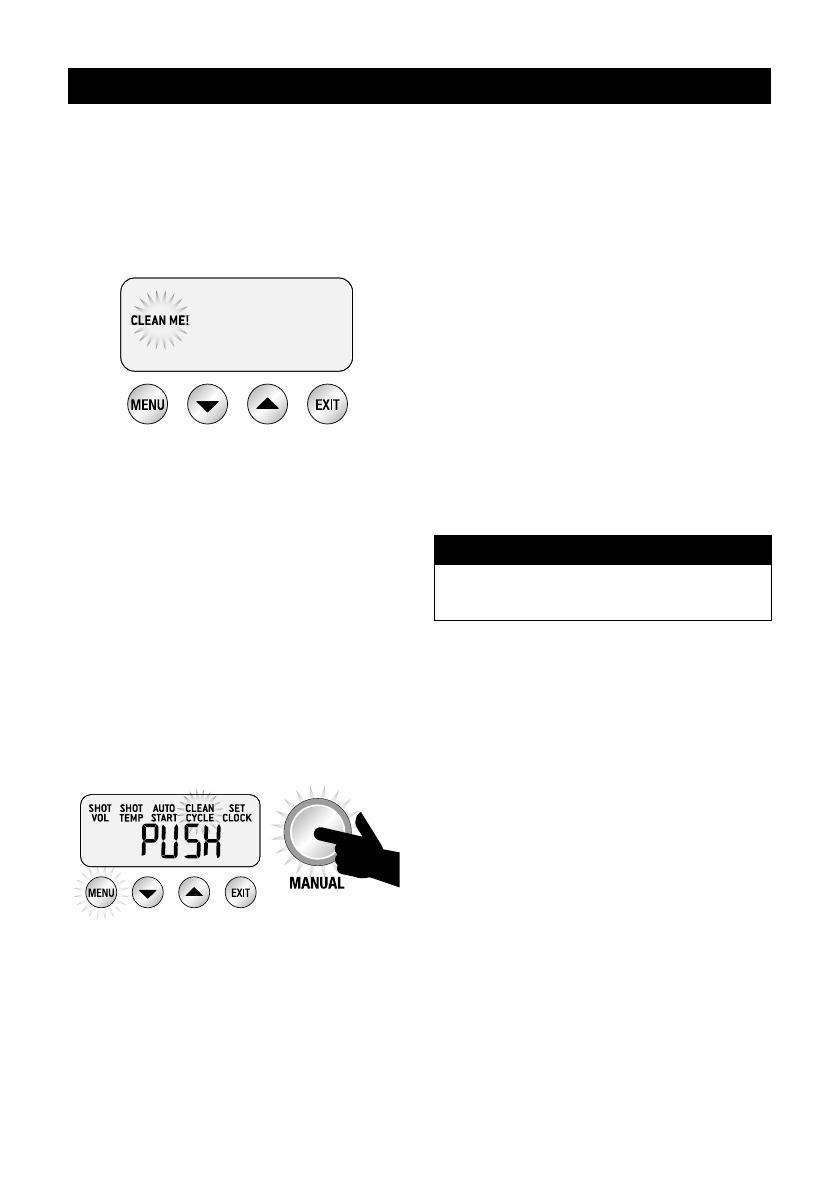
• Press MENU button until CLEAN CYCLE
icon ashes and PUSH is displayed on
the LCD screen.
• To start the Clean Cycle press the illuminated
MANUAL button.
• The CLEAN CYCLE icon will ash and
the machine will start to countdown from
370 seconds.
• When the cleaning cycle has nished,
remove the portalter and ensure the tablet
has completely dissolved. If the tablet has
not dissolved, repeat the steps above,
without inserting a new tablet.
• Rinse the lter basket and portalter
thoroughly before use.
INSTALLING WATER FILTERS
• Soak lter in a glass of water for 5 minutes.
• Rinse the lter under running water.
• Assemble lter into lter holder.
• Set replacement date forward 2 months.
• Install lter holder into water tank.
• Insert water tank into the machine. Ensure the
latch is locked into position.
• Replacing the water lter after three months
or 40L will reduce the need to descale the
machine. The limitation of 40L is based on
water hardness level 4. If you are in level 2
area, you can increase this to 60L.
NOTE
To purchase water lters visit Sage®
webpage.
CLEANING THE STEAM WAND
• Wipe the steam wand with a damp cloth &
purge directly after texturing the milk.
• If the any of the holes in the tip of the steam
wand become blocked, ensure the STEAM
LEVER is in the CLOSED position and clean
using the pin on the end of the cleaning tool.
• If steam wand remains blocked, remove the tip
using the integrated spanner in the cleaning
tool and soak in hot water. Screw tip back onto
the steam wand using the integrated spanner
in the cleaning tool.
CLEANING THE FILTER BASKETS
AND PORTAFILTER
• The lter baskets and portalter should be
rinsed under hot water directly after use to
remove all residual coee oils.
If the holes in the lter baskets become
blocked, dissolve a cleaning tablet
in hot water and soak lter basket
and portalter in solution for approx.
20 minutes. Rinse thoroughly.