7
GB
Safety information
Mains lead
• Observe the followings
to prevent the mains
lead being damaged.
If the mains lead is
damaged, it may result
in a fire or an electric
shock.
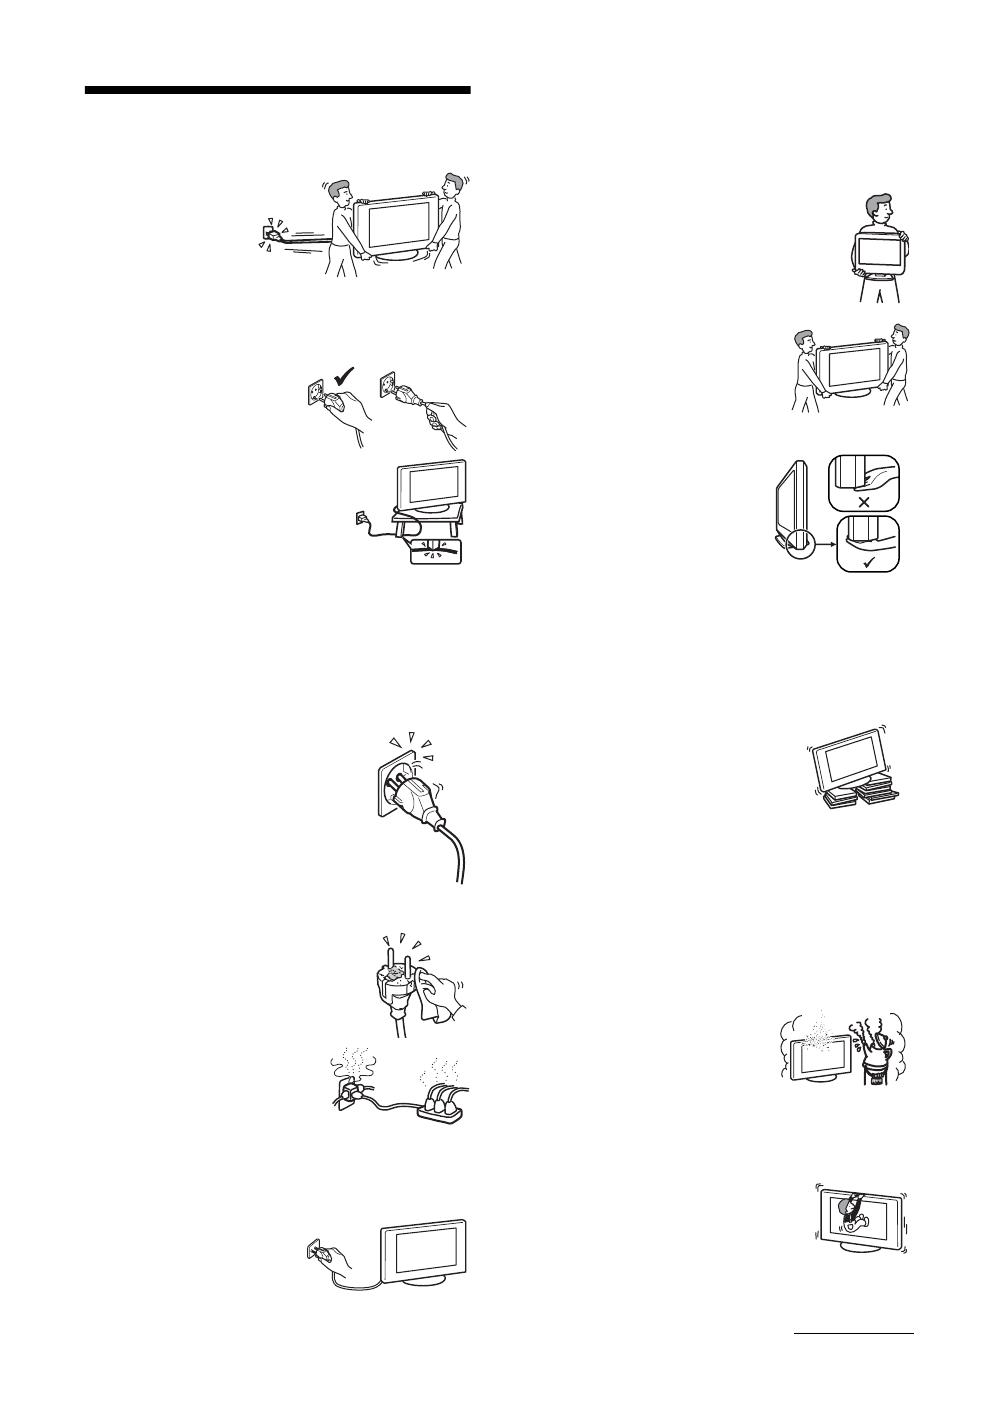
– Unplug the mains lead when moving the TV set.
– When you disconnect the
mains lead, disconnect it
from the mains socket first.
– Be sure to grasp the plug
when disconnecting the
mains lead. Do not pull on
the mains lead itself.
– Do not pinch, bend, or twist
the mains lead excessively.
The core conductors may be
exposed or broken.
– Do not modify the mains
lead.
– Do not put anything heavy on the mains lead.
– Keep the mains lead away from heat sources.
• If you damage the mains lead, stop using it and ask your
dealer or Sony service centre to exchange it.
• Do not use the supplied mains lead on any other
equipment.
• Use only an original Sony mains lead, not other brands.
Mains socket
• The TV set with a three-wire grounding
type mains plug must be connected to a
mains socket with a protective earthing
connection.
• Do not use a poor fitting mains socket.
Insert the plug fully into the mains socket.
A poor fit may cause arcing and result in
a fire. Contact your electrician to have the
mains socket changed.
Cleaning the mains plug
Unplug the mains plug and clean it
regularly. If the plug is covered with dust
and it picks up moisture, its insulation
may deteriorate and result in a fire.
Overloading
This TV set is designed to operate
on a 220–240 V AC supply only.
Take care not to connect too many
appliances to the same mains
socket as this could result in fire or
electric shock.
When not in use
• If you will not be using the TV
set for several days, the TV set
should be disconnected from
the mains for environmental
and safety reasons.
• The TV set is not disconnected from the mains when the
TV set is switched off. To disconnect the TV set
completely, pull the plug from the mains. However, some
TV sets may have features which need the TV set to be left
in standby to work correctly.
Carrying
• Before carrying the TV set,
disconnect all the cables from the
TV set.
• Carrying the large size TV set
requires two or more people.
• When you carry the TV set by
hand, hold the TV set as illustrated on
the right. When lifting the TV set or
moving the panel of the TV set, hold it
firmly from the bottom. If you do not
do so, the TV set may fall and be
damaged or cause serious injury.
• When transporting it, do not
subject the TV set to jolts or
excessive vibration. The TV set
may fall and be damaged or cause
serious injury.
• If the TV set has been dropped or
damaged, have it checked
immediately by qualified service
personnel.
• When you carry the TV set in for repair or when you move
it, pack it using the original carton and packing material.
Placement
• The TV set should be installed near an easily accessible
mains socket.
• Place the TV set on a stable, level
surface. Do not hang anything on the
TV set. If you do, the TV set may fall
from the stand, causing damage or
serious injury.
• Do not install the TV set in places
subject to extreme temperature, for example in direct
sunlight, or near a radiator, or heating vent. If the TV set
is exposed to extreme temperature, the TV set may
overheat and cause deformation of the casing or cause the
TV set to malfunction.
• Do not install the TV set in a place exposed to direct air
conditioning. If the TV set is installed in such a location,
moisture may condense inside and may cause a
malfunction.
• Never place the TV set in hot, oily,
humid or excessively dusty places.
• Do not install the TV set where
insects may enter.
• Do not install the TV set where it
may be exposed to mechanical vibration.
• Do not install the TV set in a location where it may
protrude, such as on or behind a pillar, or where you might
bump your head on it. Otherwise, it may result in injury.
• Do not allow children to climb on
the TV set.
• If you use the TV set near the
seashore, salt may corrode metal
parts of the TV set and cause
internal damage or fire.
Continued


